Models
What are Models (the ‘WHERE’)?
A Model identifies the document-shape you want to extract from. For each Model, you will define the zones where data should be extracted. In the example in which we want to extract the amount billed from our electricity, water and telecom provider, we would define three Models: one for electricity, one for water and one for telecom.
How to define a Model?
Note: before doing this, you should have defined at least one Field. See the Fields chapter for more details.
- Select the Models tab
- Click on the
 button at the bottom left of the window
 - Choose a name for your Model
- Drag and Drop a PDF on the big gray area (Note : your PDF must have been through Optical Character Recognition (OCR). See here for more details)
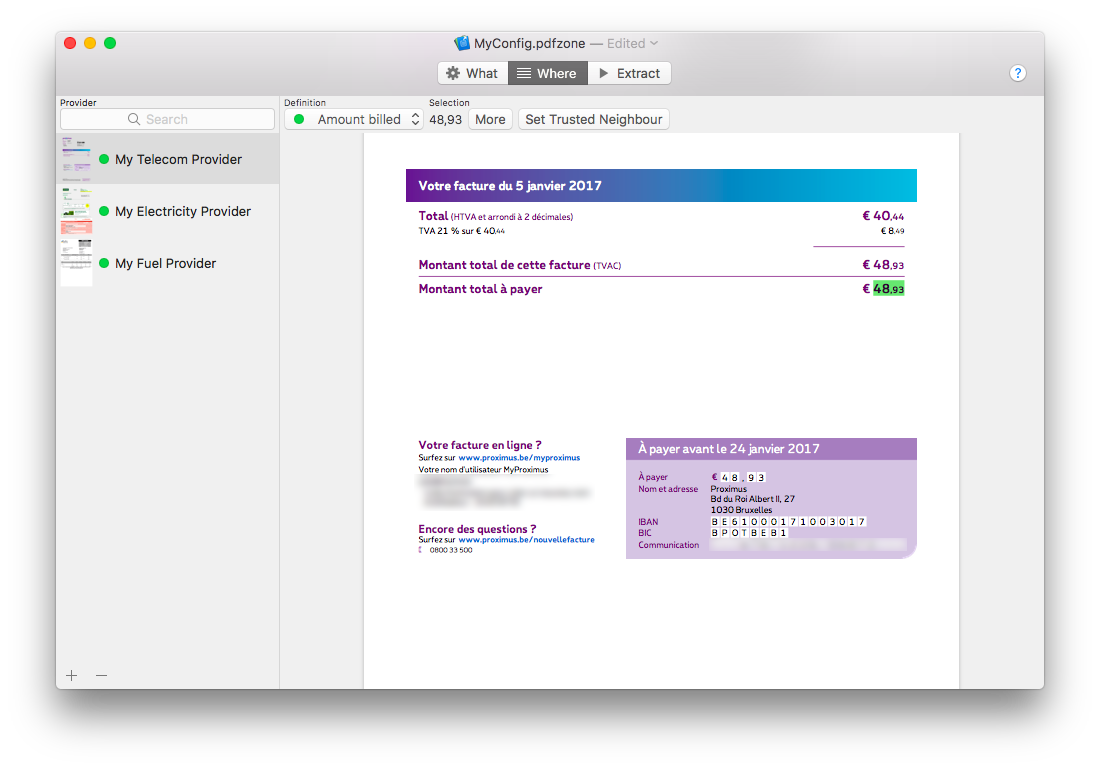
- For each Field in the drop down menu on top of the window, select the text (zone) that you want to extract. A green indicator indicates that the zone has been defined for the current Model and the current Field. Note: To select text, you can either pick the Rectangle Selection Tool where you draw a rectangle around the text to select, or the Text Selection Tool where you directly select the text.
- Click on the Options button to define extra options:
- For text Fields: define a constant value: the extracted value will always be this constant for the current Model
- For date Fields: IMPORTANT: choose the format being the closest to the one in the PDF model. This gives PDFZone a hint for a perfect recognition on the date.
When a Model has been fully defined, its indicator turns green in the list on the left side of the window.

You can save your configuration via the File menu.
How to remove a Model?
- Select the Model(s) you want to delete
- Click on the
 button at the bottom left of the window, or press the backspace key. You can also swipe left for removing a single Model.
Trusted Neighbour (Recommended) - Improve the extraction process accuracy
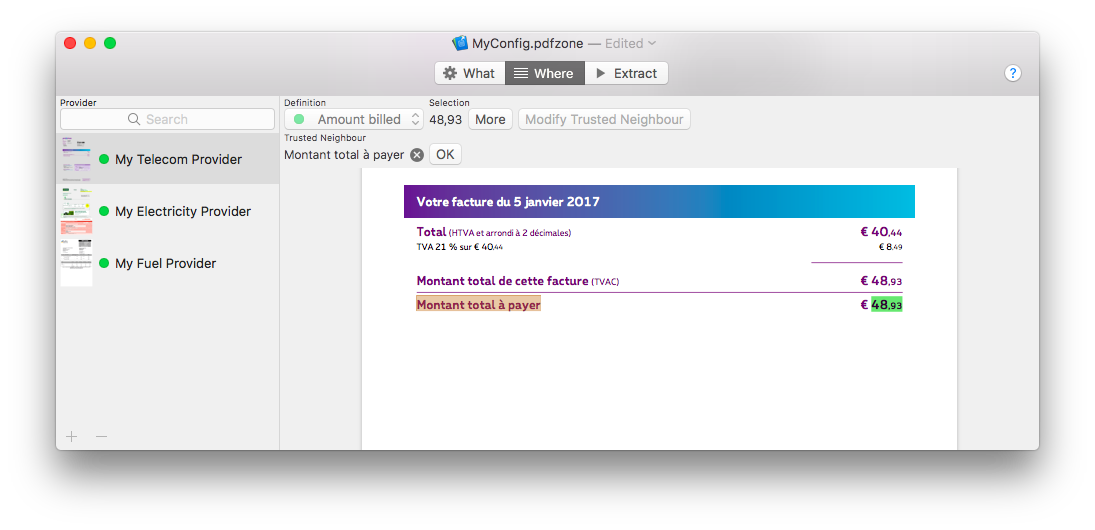
Sometimes, the data you want to extract might not always be at the exact same place. For example, the total amount of an invoice might change as the number of items in the invoice changes. In this case, you might want to define a Trusted Neighbour, a text value that will always be next to the value to extract. In the example, the trusted neighbour could be “Total amount to pay”. You know that it will always be next to the total amount value.
How to define/modify a Trusted Neighbour?
- Select the Field you want to set a Trusted Neighbour on
- Make sure you defined the zone for this Field (see previous section)
- Click on the Set Trusted Neighbour button (or Modify Trusted Neighbour)
- Select the Trusted Neighbour text**, it is selected in another color than the value to extract
- Click on the OK button
** WARNING: For optimal results, please read the following advices:
- Avoid selecting special characters for the Trusted Neighbour
- The Trusted Neighbour does not need to be very close to the value you want to extract. The important thing is a constant distance between the Trusted Neighbour and the value
- A unique Trusted Neighbour value is better. If possible, avoid simple common words!
You can save your configuration via the File menu.
How to remove a Trusted Neighbour?
- Select the Field for wich you want to remove the Trusted Neighbour
- Click on the Modify Trusted Neighbour button
- Click on the button with the small cross
 next to the Trusted Neighbour value
 - Click on the OK button
You can save your configuration via the File menu.